If MuMu Player feels sluggish or stalls while starting a device, virtualization is the first thing to check. NetEase's recommended configuration lists a CPU that supports VT with it enabled, and its help pages say turning VT on can significantly improve performance, reduce screen lag and make games smoother.
Step 1: Check Whether VT Is Already On
- Press Ctrl + Shift + Esc to open Task Manager.
- Go to the Performance tab and select CPU.
- Look for Virtualization in the details. If it says "Enabled", you're done.
Step 2: Enter BIOS or UEFI
If it says "Disabled", restart into firmware settings. The quickest universal route on Windows 10 and 11 is Settings, System, Recovery, Advanced startup, Restart now, then Troubleshoot, Advanced options, UEFI Firmware Settings. Alternatively, press the setup key during boot; common keys are Del, F2, F10 or Esc, depending on the manufacturer.

Step 3: Find the Right Setting
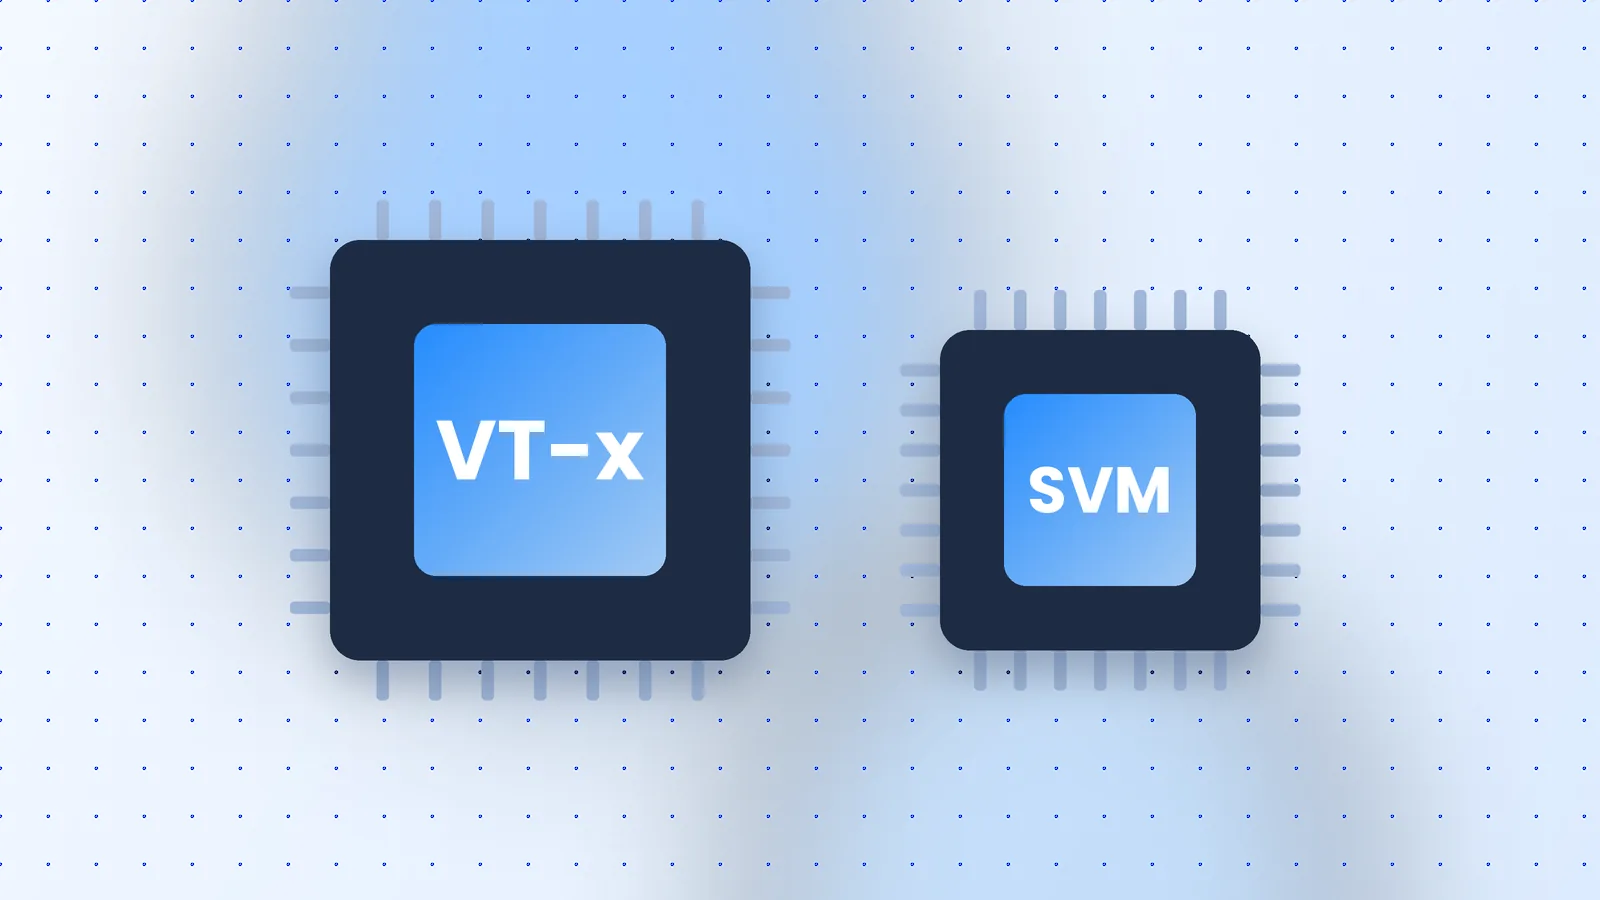
- Intel: look for "Intel Virtualization Technology", "VT-x" or "Intel VT", often under Advanced, CPU Configuration.
- AMD: look for "SVM Mode" or "AMD-V", usually under Advanced or Overclocking, CPU Features.
Set it to Enabled, save changes (often F10) and restart. Menu names differ by motherboard, so NetEase maintains an official VT guide with brand-specific steps.
Step 4: Confirm and Test
Back in Windows, check Task Manager again, then start a device in MuMu Player. Boot time and in-game smoothness should improve noticeably.
If the Option Is Missing
- Some laptops hide it; a BIOS update from the manufacturer may expose it.
- Very old processors may not support virtualization at all.
- Corporate PCs may lock firmware settings; ask your IT team.
Still lagging after enabling VT? Work through the troubleshooting checklist.